Use of BLUESTAR® at a suspected crime scene

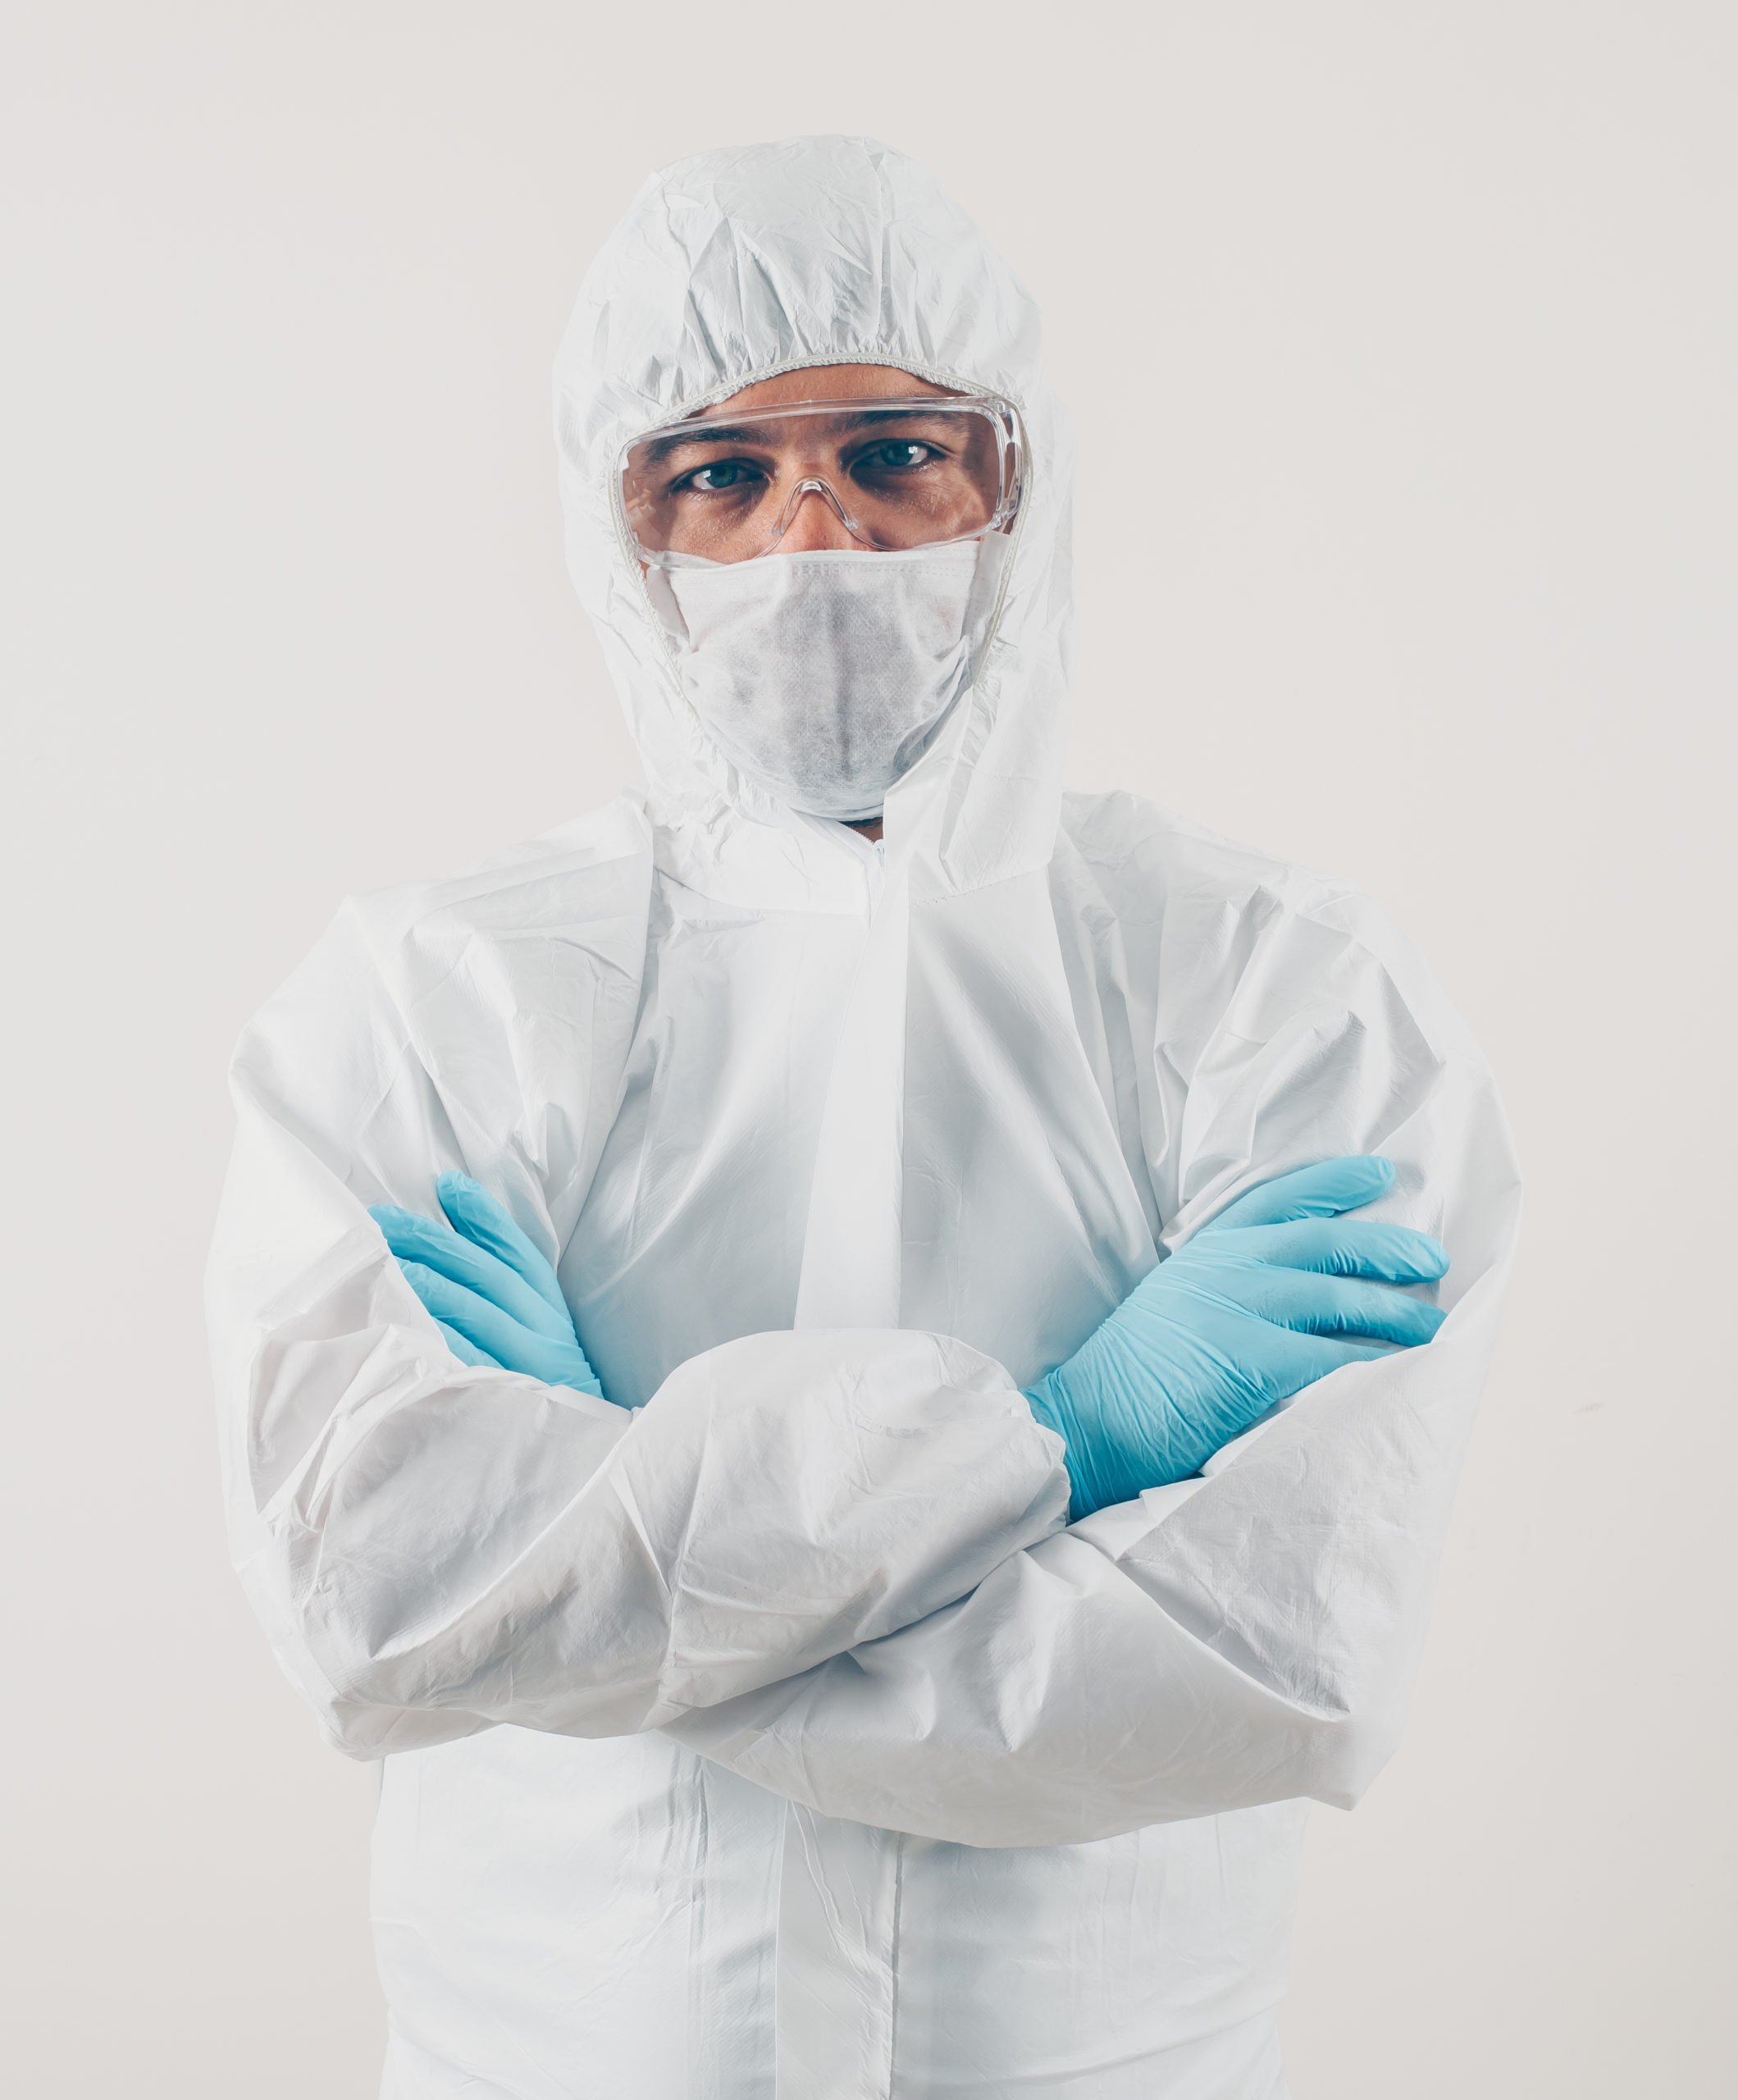
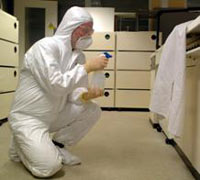
1. The technician needs to wear protective clothing to prevent contamination.

2. Prepare the BLUESTAR® FORENSIC solution either with the BLUESTAR® FORENSIC KIT or the BLUESTAR® FORENSIC TABLETS.

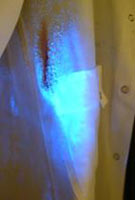
3. A few minutes later, the technician has to test its effectiveness with a blood sample as a positive control. Then he is ready to detect latent blood stains on washed surfaces.

4. Darken the area to be treated with BLUESTAR® FORENSIC.

5. Spray BLUESTAR® FORENSIC on the suspected surface with an atomizer (included in the kit version). The technician sprays the mixture from a distance of at least 50 cm (20″). A bluish luminescence indicates a positive result. This luminescence begins to fade after one minute and can be brightened up thanks a new spraying.

6. The technician must perform the same procedure on an unstained area of the same surface to serve as a negative control.

7. Confirmatory testing is to be performed directly on site, using HEXAGON OBTI. DNA typing must then be performed in the laboratory. Collect samples of the materials that showed a luminescence for further analysis (determination of the blood human origin with HEXAGON OBTI and/or DNA typing).

See also : How to take photographs of the luminescence

Similar articles:

Video Tutorial

Learning to use Bluestar® – Part.6/15: photographic technique – Bluestar® Forensic